
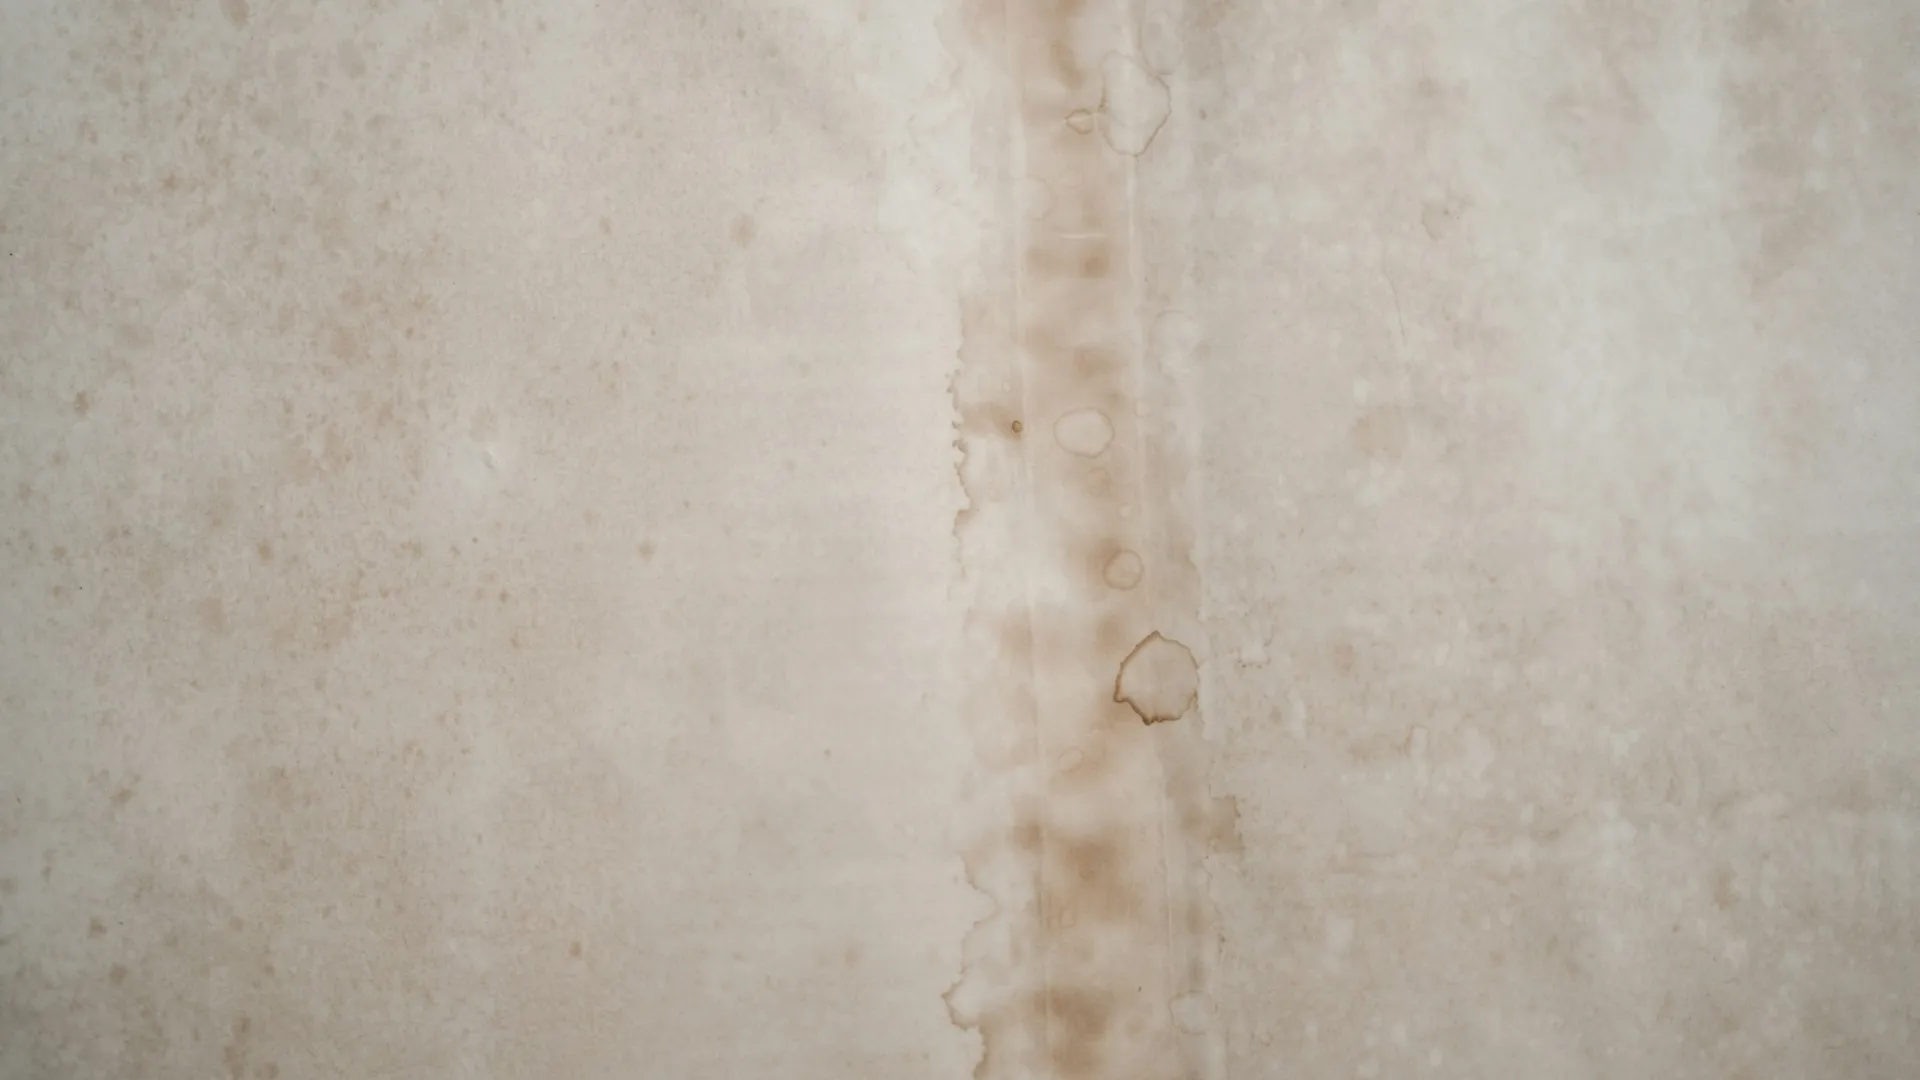
A ceiling stain often looks different by the time a roofer arrives. The edge dries. A drip stops. Wind changes direction. Someone wipes up the water and forgets when it started. Those details can separate a roof opening from plumbing, condensation, or water that traveled from another part of the house.
You do not need to climb onto the roof to preserve useful evidence. Record the room, timing, weather, and changes from a safe location. Then let the inspection connect the interior endpoint to the roof assembly above it.
Protect People and the Room First
Move furniture, electronics, rugs, and valuables away from the wet area. Use a container for an active drip and protect the floor. If the ceiling is bulging, sagging, shedding material, or wet near a light fixture, fan, outlet, or wiring, keep people out of the area and contact the appropriate emergency or electrical professional.
Do not walk on a wet roof. Do not enter an attic when access, framing, electrical conditions, or the walking surface are uncertain. A photo from the floor is better than an injury.
Take Three Kinds of Photos
1. Show the whole room
Stand back far enough to show the stain relative to exterior walls, windows, a chimney chase, bathroom fixtures, or an upstairs room. The wide view gives the inspector orientation that a close stain photo cannot.
2. Show the wet edge and drip
Capture the darkest area, the leading edge, bubbles, cracks, peeling paint, and the point where water is actively forming. Include a ruler or familiar object for scale without touching damaged ceiling material.
3. Repeat the same view
Take another photo from the same position after an hour, after the rain stops, and during the next weather event. Matching angles show whether the mark is growing, drying, or reappearing from a different edge.
Do not mark the stain with anything permanent
If it is safe, small pieces of painter tape near the dry edge can show growth without covering the evidence. Avoid puncturing a ceiling or opening drywall unless a qualified professional determines that controlled drainage or removal is needed.
Write Down the Weather and Timing
Record when precipitation began, when the stain first appeared, and when it stopped changing. Note hard wind, the side of the house receiving the weather, snowmelt, ice at the eave, or a rapid temperature change. A leak that appears only during wind-driven rain points to a different set of details than one that follows a long, calm rain.
Also record indoor activity. A shower, laundry cycle, plumbing use, or high indoor humidity can matter. Moisture around a skylight or vent may be condensation rather than rain entry. Our guide to skylight leaks and condensation explains how timing helps separate those causes.
Map What Is Above the Stain
From the ground or existing building plans, note the roof features uphill from the room: valleys, sidewalls, chimneys, plumbing vents, skylights, dormers, gutters, rooftop equipment, and low-slope transitions. Do not assume the closest feature is the source. Water can follow decking or framing before dropping.
If safe attic access already exists, an inspector may compare wet insulation, darkened wood, fastener tips, pipes, and air movement with the interior mark. A moisture meter or targeted test can help confirm a path. Surface color alone does not prove active rot or mold.
What to Send Before the Inspection
- 01The property address and room where water appeared.
- 02Wide and close photos with dates and approximate times.
- 03Weather, wind, snowmelt, and indoor activity notes.
- 04Whether the mark is active, growing, dry, or recurring.
- 05Any known prior repair, roof age information, and safe access details.
These notes do not replace inspection, but they help the roofer arrive with the right context. A focused repair should trace the path, open enough material to confirm failed layers when needed, and document what was corrected. Read our guide to roof repair versus replacement for the larger scope decision.
Frequently Asked Questions
What should I photograph when a roof leak appears?
Take a wide photo showing the stain in the room, closer photos of the wet edge and any drip, and another photo with a ruler or common object for scale. Photograph the same area later from the same position so growth is visible.
Does the ceiling stain show where the roof is leaking?
Not always. Water can travel along roof decking, framing, pipes, insulation, or drywall before it becomes visible. The stain is an important endpoint, but the roof and attic inspection still need to trace the path.
Should I go into the attic during a storm?
Only if access is safe, the walking surface is known, and there is no electrical or structural concern. Do not step between framing members or near wet wiring. Interior photos from a safe location are more useful than taking a fall risk.
Can I paint over a roof leak stain after it dries?
Wait until the water source is repaired and the affected materials are evaluated and dry. Paint can hide changes that help confirm whether the leak has stopped, and damaged drywall or insulation may need separate work.
What weather details help diagnose a roof leak?
Record the date, approximate start and stop time, rain intensity, wind direction if known, whether snow or ice was melting, and how long the stain took to appear. Note if the mark grows without precipitation because plumbing or condensation may also be involved.
Preserve the Pattern, Then Trace the Source
Platinum Roofing inspects roof leaks across Grand Rapids, Jenison, Holland, Muskegon, Kalamazoo, and surrounding West Michigan communities. Call or text (616) 256-0831 or send your photos through our contact form to request a free inspection.