
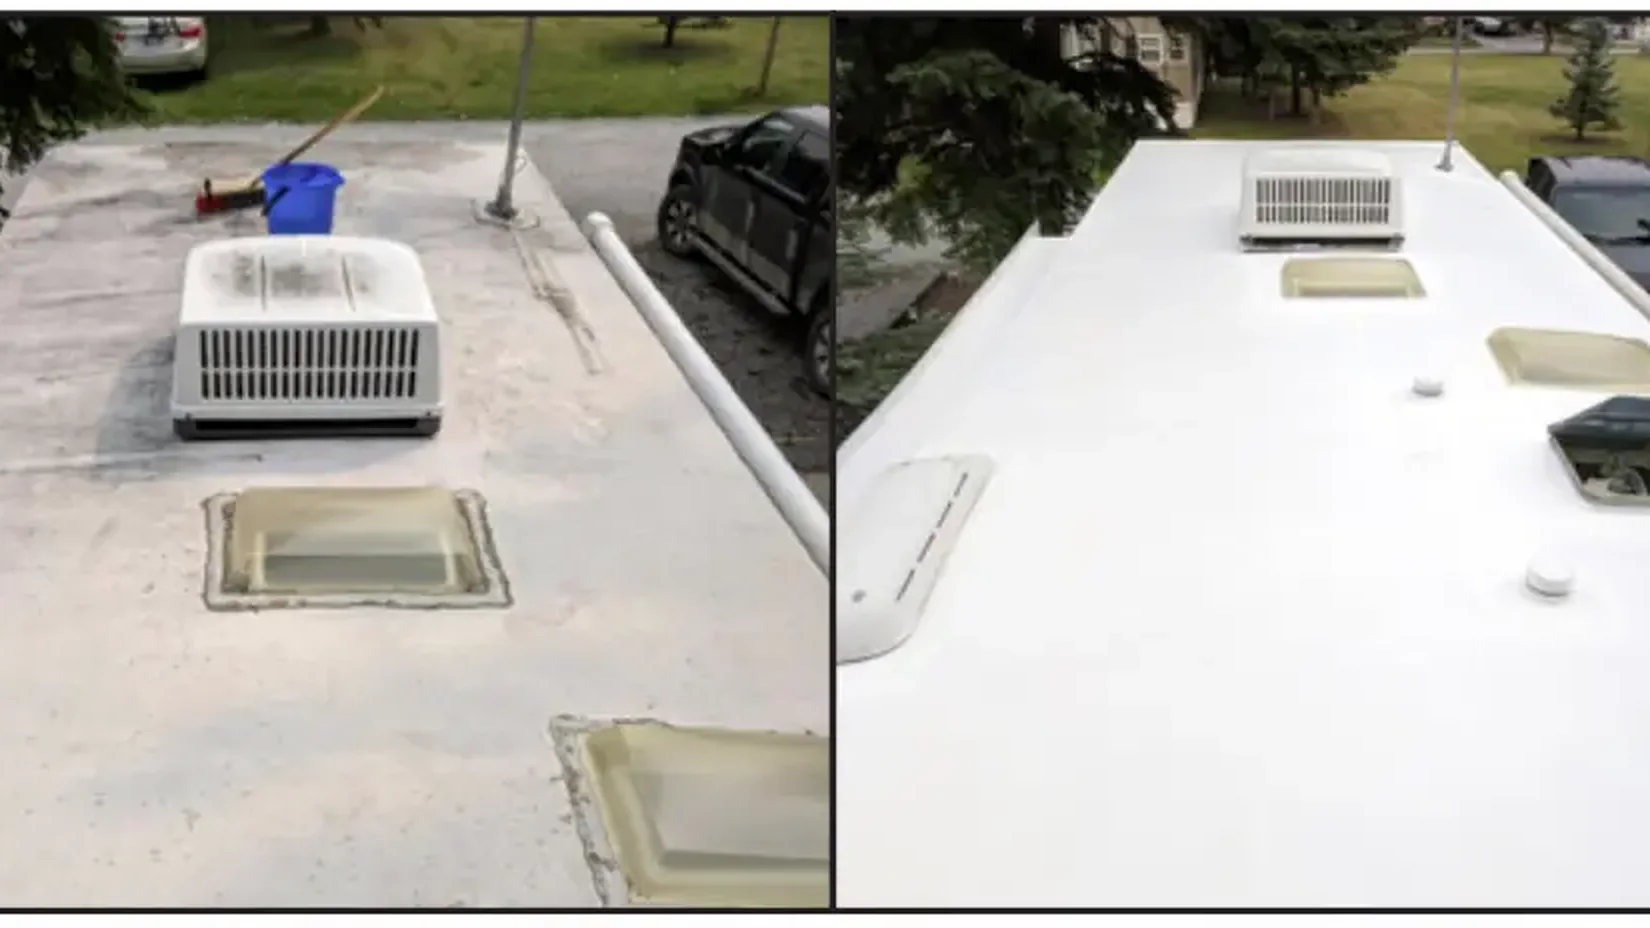
An RV roof moves every time the vehicle turns, brakes, crosses rough pavement, or changes temperature. The membrane or roof skin has to move with vents, air conditioners, cap transitions, rails, and fasteners that do not all flex in the same way.
That movement concentrates stress at seams. A narrow crack around a vent flange can admit water, but the stain may appear inside a cabinet several feet away. Finding the opening requires more than covering the nearest visible joint with another layer of sealant.
Start by Identifying the Roof
RV roofs are built with different membranes, coatings, metals, composite panels, and sealants. The existing materials determine how a repair area should be cleaned, prepared, reinforced, and sealed. A product that bonds to one surface may not bond reliably to another.
Check the RV documents, manufacturer labels, prior invoices, and product containers before choosing repair material. If the roof history is unknown, inspection and compatibility testing are safer than guessing.
Seven Areas That Deserve a Close Look
1. Roof vents and skylights
Flanges create corners and fastener lines around every opening. Look for cracked sealant, lifted edges, loose hardware, broken covers, and gaps where old material has pulled away from plastic or metal.
2. Air-conditioner openings
Water near an air conditioner may come from the roof opening, mounting system, drain path, or condensation. Check the interior and exterior evidence before tightening hardware or adding sealant.
3. Front and rear cap transitions
Long seams connect the roof to rigid molded caps. Wind pressure, vibration, and temperature change can open cracks along those joints, especially where old repairs have hardened.
4. Side rails and roof edges
Edge trim may hide fasteners and the end of the roof material. Loose trim, shrinking sealant, impact damage, and water tracks below the rail deserve investigation.
5. Antennas, plumbing vents, and mounts
Small accessories still create holes. Check every base, cable entry, pipe collar, ladder mount, and solar-panel attachment rather than inspecting only the largest equipment.
6. Fasteners and old patches
Backed-out screws, rust marks, raised washers, and patch edges can show movement. A patch may also hide the size of an older opening or incompatible material beneath it.
7. Low areas and soft spots
Dirt lines and standing water show where drainage slows. A soft or spongy area may indicate damaged substrate, but roof access should follow the RV safety and load instructions.
The interior stain may be far from the seam
Water can follow framing, wiring, insulation, or the underside of the roof before it drops. Record when the stain appears, which side of the RV faced the weather, and whether the vehicle was level or moving.
Why More Sealant Can Make the Next Repair Harder
Sealant needs a clean, sound, compatible surface. Adding new material over dust, chalking, moisture, loose edges, or an incompatible patch can create a thick repair that separates in layers. It may also cover cracked fasteners or damaged substrate without correcting them.
Preparation may include removing loose material, cleaning the surface, drying the assembly, securing components, and reinforcing transitions. The exact steps should follow the roof and repair-system instructions.
Build an Inspection Record
Take wide photos from the same positions and close photos of every seam. Mark vents, caps, rails, mounts, patches, and interior stains on a simple roof sketch. Dated images make a growing crack or changing water pattern easier to recognize.
Follow the RV and roofing-system maintenance schedule. Add checks before and after storage, after branch contact or severe travel conditions, and whenever the interior develops a stain, odor, discoloration, or soft trim. Our RV roof inspection checklist provides a broader walk-around sequence.
Local Repair, Restoration, or Replacement?
A focused repair may fit when one seam or penetration has failed and the surrounding roof remains attached and sound. A larger restoration may fit when the roof is a compatible candidate but needs widespread preparation, reinforced details, and a continuous protective surface.
Broad soft areas, extensive substrate damage, widespread adhesion loss, or repeated incompatible repairs can change the scope. Platinum evaluates qualifying RV roofs for Andek restoration systems after the existing roof, moisture, seams, and substrate are assessed. Read our guide to RV roof restoration versus replacement for that decision.
What a Clear Repair Scope Should Include
- 01Identify the roof material, existing coatings, and suspected water paths.
- 02List the vents, cap seams, rails, mounts, fasteners, and patches included in the work.
- 03Describe removal, cleaning, drying, adhesion checks, and other surface preparation.
- 04State how soft substrate, loose components, and incompatible materials will be handled.
- 05List the repair or restoration system, detail reinforcement, final inspection, and workmanship coverage.
Frequently Asked Questions
Where do RV roofs commonly leak?
Common leak areas include roof vents, air-conditioner openings, antennas, plumbing vents, ladder mounts, front and rear cap transitions, side rails, fasteners, and previous repair patches. Water may travel inside the roof assembly, so the interior stain may not sit directly below the opening.
Can I put new sealant over old RV roof sealant?
Adding material without identifying the existing roof and sealant can create adhesion or compatibility trouble. Loose, cracked, contaminated, or incompatible material may need removal and proper surface preparation. Follow the RV and roofing-system instructions or have the assembly evaluated before choosing a repair product.
How often should an RV roof be inspected?
Follow the RV manufacturer and roofing-system maintenance instructions. A practical routine also includes checks before and after storage, after contact with branches or severe travel conditions, and whenever an interior stain or soft area appears. Keep dated photos so small changes are easier to spot.
Does an RV roof leak mean the whole roof needs replacement?
No. A localized seam or penetration may be repairable when the surrounding roof and substrate remain sound. Widespread adhesion loss, broad soft areas, trapped moisture, repeated incompatible patches, or extensive substrate damage may require a larger restoration or replacement scope.
What should an RV roof repair estimate include?
The estimate should identify the roof type and suspected leak areas, describe removal and surface preparation, list compatible materials, state how penetrations and edges will be reinforced, address soft or wet substrate, and explain inspection, cleanup, and workmanship coverage.
Inspect the Detail Before Adding Another Patch
Platinum Roofing assesses RV roofs across Grand Rapids, Jenison, Holland, Muskegon, Kalamazoo, and surrounding West Michigan communities. Call or text (616) 256-0831 or send roof and interior photos through our contact form.