
An RV air conditioner sits over a large roof opening while the vehicle flexes during travel and moves through wide temperature changes. Water appearing at the interior grille deserves prompt attention, but the drip location alone does not identify which part failed.
Rain can reach the roof opening. Cooling operation creates condensate that needs a clear exit. Humid interior air can collect on cold surfaces. Water can also travel from a nearby vent, seam, antenna, or roof defect before reaching the air-conditioner opening. The timing helps narrow the inspection.
Start With When the Water Appears
Write down whether the drip starts during rain, while the unit is cooling, after shutdown, during a sharp temperature change, or under more than one condition. Note whether the RV is level, parked on a slope, moving, or recently moved. Photograph the ceiling before wiping the area dry.
A rain-only pattern directs attention toward the roof opening and nearby water paths. Water that appears only during operation makes condensate and cold-surface moisture part of the inspection. Neither pattern proves the cause by itself. Wind, parking angle, humidity, and delayed travel inside the roof assembly can change when a drip becomes visible.
Keep roof and electrical work separate from observation
Do not climb onto an RV roof unless the manufacturer identifies a safe access method and the structure is known to be walkable. Turn off the equipment and disconnect the required power sources before qualified service. Wet components, sharp shroud edges, wiring, and an uncertain roof surface add hazards.
Understand the Roof Opening and Seal
Many RV rooftop air conditioners use a compressible gasket between the equipment base and the roof. An interior mounting frame and specified fasteners hold the assembly together. The gasket must match the unit, roof opening, support, and installation instructions. It is not the same as a visible bead of lap sealant around a vent flange.
Age, movement, uneven compression, loose attachment, roof deflection, debris, or an earlier installation can change the seal. The gasket is mostly hidden while the unit is installed, so a complete evaluation may require removing or lifting the equipment safely. Ask for photos of the opening before a new seal covers it.
Do Not Tighten the Assembly by Guesswork
A loose mounting point deserves inspection. Turning every bolt until it feels tight can create another problem. Too much compression may distort the interior frame, roof surface, or gasket. Uneven tightening can leave one side carrying more load than the others.
Identify the equipment model and use its current service instructions. The inspection should compare attachment, compression, opening dimensions, and roof support with those requirements. If the roof around the unit feels low or changed, the substrate needs evaluation before the air conditioner is simply clamped down again.
Trace the Condensate Path
Cooling removes moisture from the air. That water has to collect and leave through the intended condensate path for the unit. Debris, a shifted component, an obstructed outlet, or an RV parked at an unusual angle may let water collect where it normally would not. Some equipment directs condensate onto the roof, while other arrangements route it differently.
Have the technician identify the actual collection pan, outlets, channels, and discharge route for the installed model. The roof inspection should then follow that water away from the unit. Ponding against another seam or vent can create a second leak path even when the air-conditioner opening remains sound.
Separate Interior Condensation From Roof Entry
Cold metal, ducts, or interior trim can collect moisture when warm humid air reaches them. A dirty filter, airflow problem, open ceiling bypass, loose duct connection, or high indoor humidity may change where moisture forms. Equipment diagnosis belongs with an RV service technician, while the roofer checks the opening and surrounding roof layers.
Look for differences in the evidence. Rain entry may leave staining in the roof opening or substrate. Interior condensation may appear on cold surfaces during operation without recent rain. Old staining can remain after either issue is corrected, so dated photos and moisture readings are more useful than color alone.
Inspect Beyond the Air Conditioner
An RV roof can carry vents, skylights, antennas, solar mounts, cap seams, and earlier patches within a few feet of the air conditioner. Water may enter uphill and travel inside the roof before it reaches the ceiling opening. Inspect the wider roof plane and map every nearby detail instead of sealing the closest visible joint.
Our guide to RV roof seams, vents, and sealants explains how movement and incompatible patch material affect nearby transitions. Photograph dirt lines, lifted edges, cracks, loose fasteners, surface depressions, and any path where water collects.
Open Enough of the Assembly to Define the Repair
Replacing a gasket may be appropriate when it is the confirmed weak point and the surrounding structure remains sound. Soft substrate, a distorted opening, cracked roof material, corroded hardware, wet insulation, or damaged interior framing changes the scope. Covering those conditions with a new gasket can leave trapped damage in place.
The repair should restore sound support, the drainage surface of the roof, the manufacturer-specified equipment seal, and interior mounting details. Roof coating or compatible sealant may belong in surrounding roof work, but it should not block drains, cover service points, or substitute for the primary seal at the opening.
Document Removal and Reinstallation
- ●Wide roof photos showing the unit, parking orientation, and nearby components
- ●Interior photos of the ceiling assembly, stains, trim, and drip location
- ●Equipment model information and the applicable installation instructions
- ●The exposed roof opening, gasket, substrate, support, fasteners, wiring, and ducts where safely visible
- ●Each repaired roof layer before the air conditioner returns
- ●Final attachment, condensate route, roof surface, interior trim, and completed operating or water checks
Keep the service invoice, material record, and labeled photos with the RV maintenance file. Recheck the interior after the next rain and normal cooling cycle. Continued moisture needs another inspection rather than another blind layer of sealant.
Check the Area Before Storage
A stored RV can hide a slow leak for weeks. Inspect the ceiling assembly, upper cabinets, roof opening, nearby seams, and condensate area before covering or parking the vehicle for winter. The RV roof winter-storage checklist covers the rest of the roof and interior record.
Frequently Asked Questions
Why is water dripping from my RV air conditioner?
Water may be entering around the roof opening during rain, overflowing from a condensate path while the unit runs, forming on cold interior surfaces, or traveling from another roof detail. Record the weather, operating status, timing, and exact drip location before assigning a cause.
Does every RV roof air conditioner use a gasket?
Many rooftop units seal to the roof with a manufacturer-specified compressible gasket, but equipment and mounting details vary. Identify the exact unit and follow its installation and service instructions instead of assuming one gasket, sealant, or tightening method fits every assembly.
Can I stop an RV air conditioner leak by tightening the mounting bolts?
Blind tightening can overcompress a gasket, distort the roof or interior frame, or hide a different problem. A qualified technician should inspect the specified compression, attachment, roof support, and material condition using the instructions for that unit.
Should sealant be applied around the air-conditioner shroud?
The outer shroud is usually a protective cover rather than the primary seal at the roof opening. General-purpose sealant around the cover can obstruct service, trap water, or miss the actual opening. The repair should follow the equipment and roof-system details.
What should be documented during an RV air conditioner roof repair?
Keep photos of the roof before work, the unit and opening after removal, the gasket or other sealing detail, roof surface, substrate, interior frame, wiring and ducts where safely visible, repaired layers, final installation, and any water test or operating check performed by qualified personnel.
Inspect the Roof Opening Before the Drip Spreads
Platinum Roofing inspects qualifying RV roofs across Grand Rapids, Jenison, Holland, Muskegon, Kalamazoo, and nearby West Michigan communities. Call or text (616) 256-0831 to schedule a free RV roof assessment and coordinate the roof work with qualified equipment service.
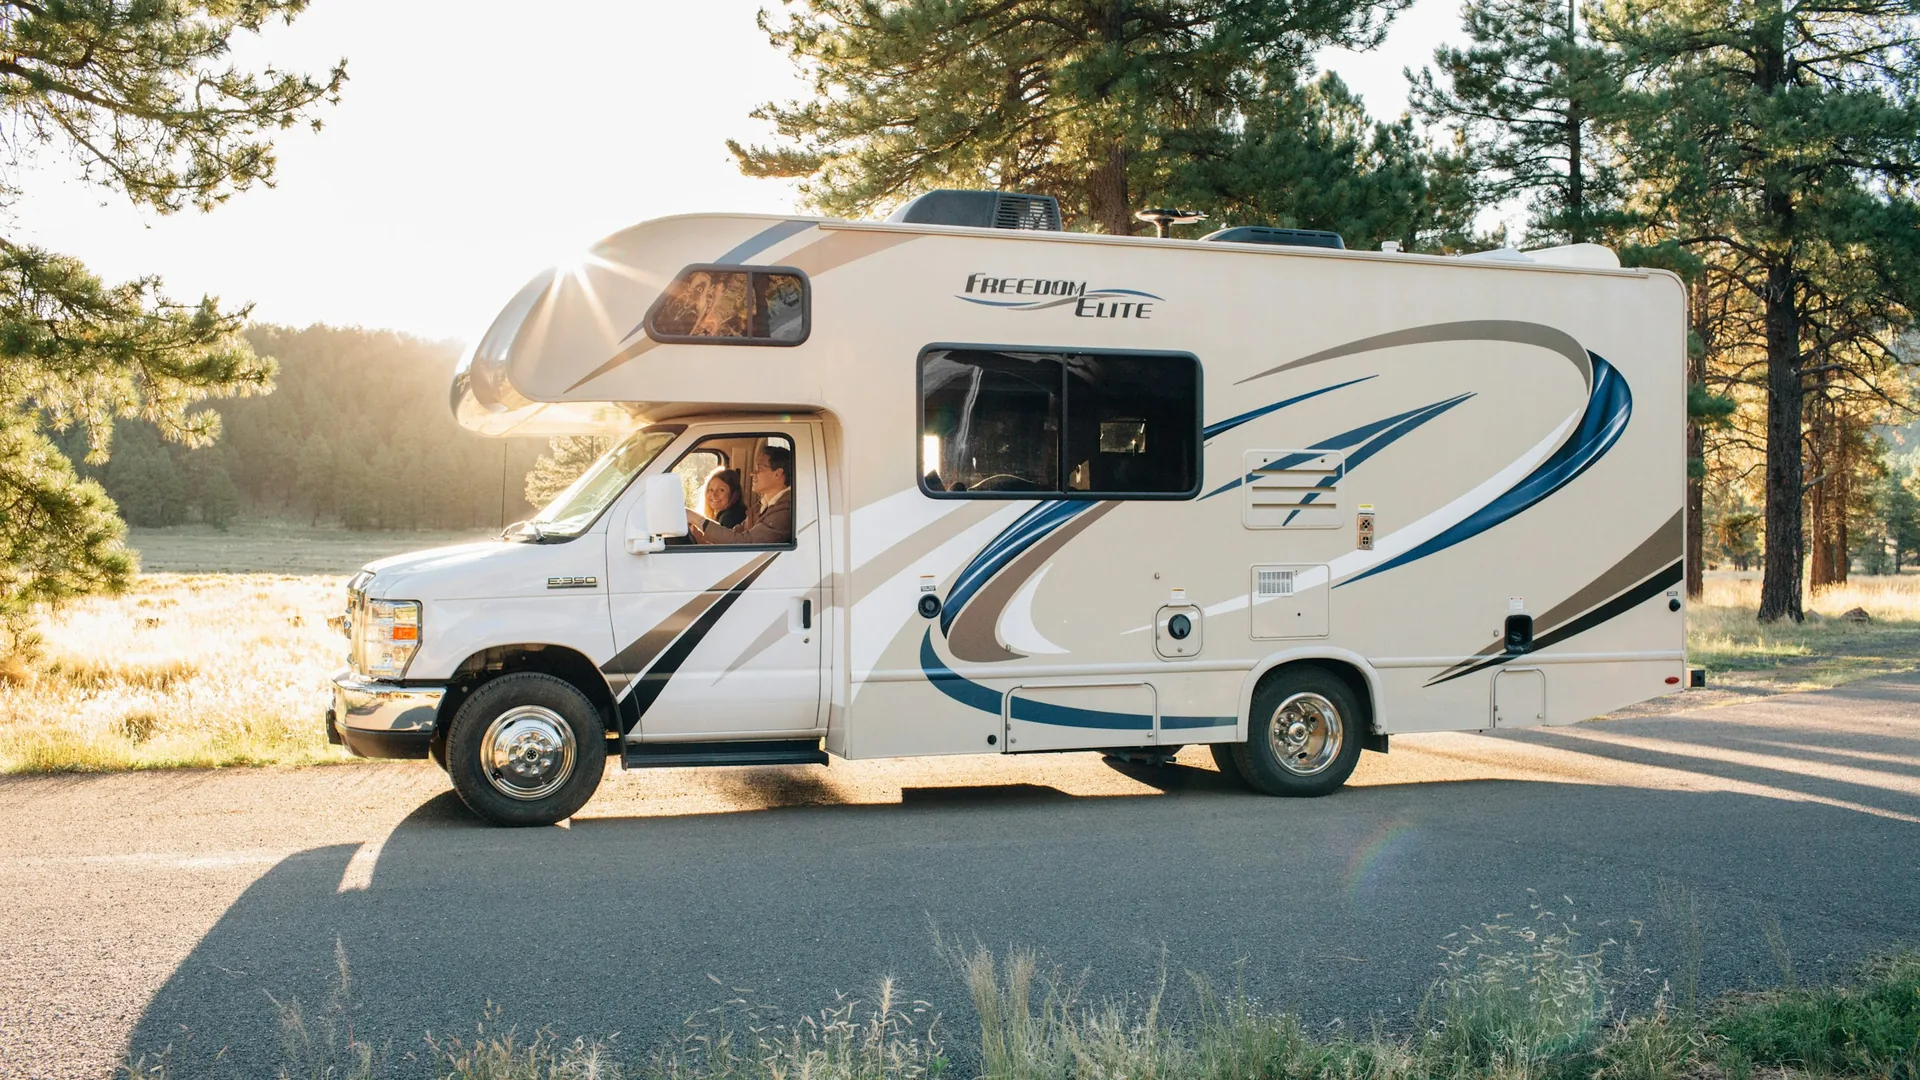
The stock photo shows a Class C motorhome with rooftop air-conditioning equipment and other roof components. It does not document a Platinum Roofing project or confirm a leak.