
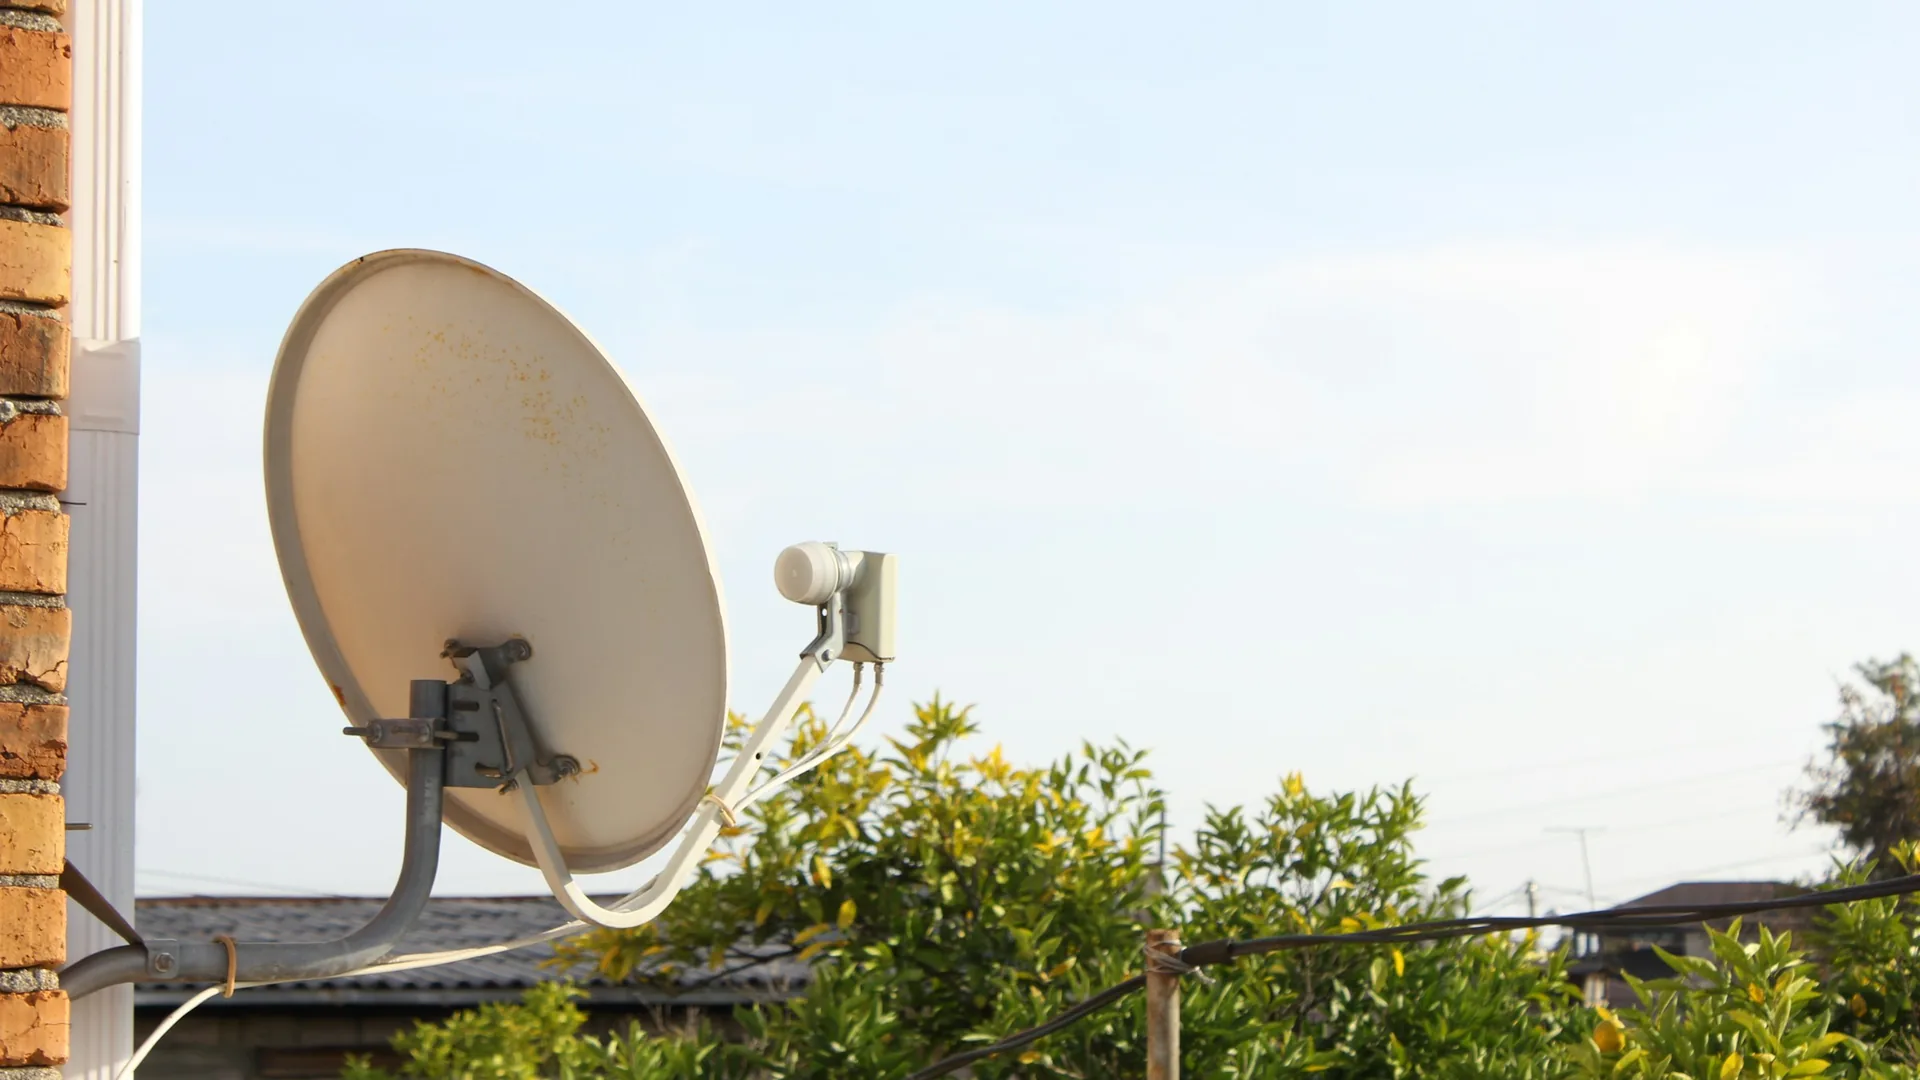
Satellite dishes and antennas often outlast the service contract that put them on the building. The equipment may be unused while brackets, fasteners, cables, and wall entries remain exposed to years of sun, wind, rain, snow, and freeze-thaw movement.
A nearby ceiling stain does not automatically make the dish the leak source. Water can travel along decking, framing, fasteners, or cables before it becomes visible indoors. A useful inspection documents the complete route and identifies which roof layer needs repair.
Start With the Mount, Not Just the Dish
The round reflector is the obvious part, but the attachment below it matters more to the roof. Some brackets fasten through asphalt shingles into framing or decking. Others attach to a wall, chimney, fascia, curb, parapet, or a separate support. Each arrangement creates different inspection points.
From the ground, note whether the mast leans, the dish moves, cables hang loose, or metal has pulled away from the surface. Do not climb up to shake the assembly. Movement that looks minor from below can enlarge fastener holes or disturb brittle surrounding material.
Keep the inspection off the ladder
Use ground photos, binoculars, windows, and contractor-supplied close views. Roof edges, cables, wet surfaces, and loose equipment add hazards. A qualified contractor should handle roof access and removal planning.
Look for More Than Cracked Sealant
Exposed, split, or missing sealant deserves attention, but a neat bead does not confirm a sound attachment. Sealant may hide a loose fastener, a hole through the wrong part of a shingle, compressed roofing, corrosion, or damage that continues below the surface.
- ●Lifted, torn, cracked, or crushed roofing around the bracket
- ●Rust trails, loose hardware, enlarged holes, or a bent mast
- ●Open cable clips and fasteners left from earlier equipment
- ●Soft decking, staining, or dark fastener points visible from a safe attic location
- ●Repairs made from layers of incompatible patching material
The surrounding shingles or membrane may also be aged even when the mount remains tight. Photograph the wider roof plane so the repair can account for material condition, drainage direction, nearby seams, and access to sound substrate.
Trace the Cable Route
Coaxial cable is often clipped across roofing, run beneath siding, or passed through an exterior wall. Loose cable can rub against shingles and trim. An unsealed wall entry can admit water that appears near the roof line even though the roofing itself is not the entry point.
Follow the visible route from the dish toward the building entry. Record abandoned clips, holes, junction boxes, and sharp bends. Inside, compare the route with stains or damaged finishes without assuming the shortest line between them proves the water path. Our guide to documenting a roof leak explains how timing and location notes help an inspection.
Removal Exposes the Real Repair Scope
Removing the reflector while leaving its foot and cables behind may reduce wind load, but it does not close the roof. Pulling the entire bracket exposes the fastener holes and compressed material. That is when the contractor can inspect the substrate and decide how much roofing needs to be opened or replaced.
A lasting repair restores the water path for the actual roof system. On asphalt shingles, that may require replacing affected shingles and addressing the underlayment or decking below. A low-slope membrane repair needs compatible materials, sound attachment, proper preparation, and enough area to tie into the existing system. Smearing surface sealant over empty holes does not answer those questions.
Coordinate Equipment Work Before Roof Replacement
Tell the roofer about every dish, antenna, mast, cable, and abandoned bracket during estimating. Confirm who will disconnect equipment, when it will leave the work area, whether it returns, and who is responsible for service afterward. The roofing scope should identify how old penetrations will be repaired.
Reinstalling equipment after a new roof without coordination can cut fresh materials or place loads where the roof was not prepared for them. If service must continue, have the roofing contractor and equipment provider agree on the support and flashing details before installation. Keep their photos with the final roof walkthrough record.
Separate Roof, Wall, and Chimney Details
A side-mounted bracket may avoid holes through the main roof field while still affecting fascia, siding, masonry, or a chimney. Those surfaces move and drain differently. A chimney mount also sits beside a roof intersection where flashing can already be difficult to evaluate.
Ask the inspection to name the actual entry point instead of labeling everything near the equipment as dish damage. Review the masonry, siding joint, cable penetration, roof flashing, and interior evidence separately. The same discipline applies to chimney flashing leaks and other nearby transitions.
Build a Useful Photo Record
- ●Wide view showing the equipment and its roof location
- ●Close views of each foot, fastener, flashing edge, and cable clip
- ●Cable route and every exterior entry point
- ●Roof surface and substrate after the bracket comes off
- ●Each repair layer before the finished material covers it
- ●Final wide and close views plus the repair material record
Label photos by roof plane or building side. If an interior stain exists, record whether it changes during rain and whether the equipment repair affects it. Continued moisture calls for another inspection rather than repeated blind patching.
Frequently Asked Questions
Can a satellite dish cause a roof leak?
A dish does not prove the source of a leak, but fasteners through roofing, failed sealant, loose flashing, movement at the mount, and cable entry holes can admit water. The mount and surrounding roof layers need inspection before assigning the cause.
Should I remove an unused satellite dish myself?
Roof access and equipment removal can involve fall hazards, electrical clearances, sharp hardware, and hidden roof damage. Have a qualified contractor assess the mount and plan the roof repair rather than pulling fasteners from the ground or climbing onto the roof without proper training and equipment.
Can the mounting holes just be filled with caulk?
Surface sealant alone may not rebuild the roof's water-shedding layers or address damaged decking. The right repair depends on the roof material, hole locations, mount type, and condition below the surface. Ask for a repair that integrates with the existing roof system.
What should be documented before the dish is removed?
Photograph the whole roof area, each bracket and fastener, cable routes, nearby flashing, interior stains, and the underside of the deck when safely accessible. Keep before, during, and after photos with the repair invoice and material record.
Can a dish stay in place during roof replacement?
That decision depends on the equipment, mount, roof scope, and service provider. Coordinate disconnection, temporary removal, roof work, and any approved reinstallation before the roofing crew starts so new materials are not cut or loaded unexpectedly afterward.
Inspect the Attachment Before It Becomes an Emergency
Platinum Roofing inspects residential and commercial roof details across Grand Rapids, Jenison, Holland, Muskegon, Kalamazoo, and nearby West Michigan communities. Call or text (616) 256-0831 to schedule a free roof assessment and review an active or abandoned rooftop mount.
The stock photo illustrates rooftop communications equipment. It does not document a specific Platinum Roofing project or prove that any pictured mount leaks.