
A commercial leak may disappear after the rain and return three months later in the same room. If the first report lives only in an email, a bucket label, or one technician's memory, the next inspector starts over.
A useful leak log ties the visible endpoint to the building plan, roof section, conditions, inspection findings, temporary response, completed repair, and verification. It preserves what the team knows without turning an early guess into a permanent diagnosis.
Give Every Roof Section and Interior Area a Name
Start with simple plans of the roof and occupied space. Divide a large roof by elevation, wing, grid line, tenant, drain area, or another label the maintenance team and roofer can both find. Mark roof access points, drains, scuppers, walls, expansion joints, rooftop units, and known repairs.
Use the same labels in every leak entry. An entry such as “north warehouse, receiving bay 4, roof area B” is more useful than “back corner.” If room names or tenants change, retain the physical grid or column reference so the history still follows the building.
Record the symptom before assigning the source
Write “water at ceiling grid near column C4” instead of “leaking drain” until inspection confirms the entry point. Water can travel across the assembly, and equipment condensation or plumbing can produce a similar interior report.
Capture the First Report While the Evidence Is Fresh
Record the date and time, who reported the issue, whether moisture is active, and what operations were running nearby. Note rain, snowmelt, wind direction, freeze and thaw conditions, or a dry period without claiming that weather alone caused the leak. Equipment use matters when rooftop HVAC, condensate lines, process piping, or interior plumbing occupies the same area.
Describe what became wet and whether the pattern changed. A single drip, broad ceiling stain, wet wall, damp insulation, or water appearing through a light fixture creates different safety and inspection needs. Restrict the area below unstable ceiling material and keep people away from wet electrical components while qualified personnel handle the immediate response.
Use Wide, Location, and Detail Photos
Take a wide interior photo that shows the room, a location photo that includes a permanent reference, and a close view of the moisture. Repeat that sequence at the corresponding roof section where access is authorized. A tight photo of one membrane split has little value later if nobody can place it on the roof.
Keep the original files and names with the log entry. Mark the camera direction when similar equipment or roof areas repeat. The same approach used in our guide to documenting a roof leak becomes more useful on a commercial property when every photo connects to a shared roof plan.
Link Roof Work and Trade Visits to the Same Timeline
HVAC, electrical, plumbing, solar, telecom, and sign work can change a roof area even when the roofing contractor is not present. Record who accessed the roof, the route used, equipment moved, penetrations added, and materials left behind. Before and after photos can separate a new condition from older damage.
Do not use the access log to assign blame without evidence. Use it to narrow dates and locations for inspection. Our guide to commercial roof traffic and service routes explains how one approved path and a closeout check can reduce avoidable uncertainty.
Document Temporary Measures Without Calling Them Repairs
Record buckets, interior protection, water extraction, temporary covers, or emergency roof work with the installer, exact location, materials used, and date. Photograph the area before and after. A temporary measure can limit damage while leaving the original entry point unresolved.
Mark temporary roof materials so the next roofer can identify and remove them safely. Repeated coating or sealant over an unknown assembly can hide seams, trap moisture, and make the final scope harder to define. The log should show when each layer was added rather than presenting the latest surface as the complete history.
Make the Repair Entry Specific Enough to Revisit
A completed entry should name the roof section, observed defect, area opened, wet material found, materials removed, repair limits, and adjacent details inspected. Attach photos of concealed layers before they are covered. Keep the contractor's scope and invoice with the same record rather than in a separate folder with no location reference.
If the inspection does not confirm a source, say so. Record what was checked, what remained inaccessible, and the next condition that would trigger follow-up. An honest open item is more useful than a closed work order based on an unsupported assumption.
Use Moisture Findings to Refine the Map
Moisture screening can help identify areas that deserve further investigation in suitable roof assemblies. Plot findings on the same plan as interior reports, drains, repairs, and roof details. A reading or image does not identify the entry point by itself, and confirmatory checks may still be needed before removal limits are set.
Compare current findings with earlier records. A recurring wet area near the same transition carries a different history than a first report after new rooftop work. Our moisture mapping guide explains what the technology can add and what it cannot prove alone.
Close the Entry Only After Follow-Up
Preserve the original interior location even after stained finishes are replaced. Recheck the roof and room during the next comparable conditions and record whether moisture returned. If a controlled water test is appropriate, qualified people should isolate one detail at a time and protect the occupied building below.
Close the entry with the verification date and result. Do not delete it. Archived repairs help a future facility manager, buyer, roofer, or budget planner understand which areas were repaired, which remained under observation, and where repeated water entry changed the scope. The broader records requested in our commercial pre-purchase roof guide become much stronger when the leak log is complete.
A Practical Leak Log Checklist
- 01Assign one entry number and map the exact interior endpoint and roof section.
- 02Record timing, conditions, nearby equipment operation, safety concerns, and the temporary response.
- 03Attach wide, location, and detail photos with permanent references and camera direction.
- 04Add inspection findings, opened layers, repair limits, materials, trade access, and unresolved questions.
- 05Recheck under comparable conditions, record the result, and archive the entry without deleting its history.
Frequently Asked Questions
What should a commercial roof leak log include?
Record the report date and time, exact interior location, weather or equipment conditions, photographs, affected finishes or operations, temporary response, corresponding roof section, inspection findings, repair performed, and follow-up result. Separate observed facts from suspected causes.
Does a ceiling stain show where the commercial roof is leaking?
Not necessarily. Water can move along decking, insulation facers, framing, pipes, conduits, and wall assemblies before it becomes visible. Plot the interior endpoint and compare it with the roof plan, but keep the entry point unconfirmed until the inspection supports it.
Should old roof leaks stay in the log after repair?
Yes. Keep the original entry and add the repair date, scope, photographs, and verification notes. Closing or archiving an entry preserves the history and helps a future inspector distinguish a repeated leak from an old stain that never changed.
Can moisture mapping replace a commercial roof leak log?
No. Moisture screening can help identify areas that deserve further investigation in suitable assemblies, but it does not replace dates, interior locations, weather notes, surface inspection, repair records, or confirmatory checks. The records work together.
How do facility teams verify a roof leak repair?
Photograph the opened and finished work, preserve the original leak location, and inspect the same interior and roof areas during the next comparable conditions. Record whether moisture returned. Any controlled water testing should be planned by qualified people who can protect the building and isolate one detail at a time.
Turn Recurring Reports Into a Repair History
Platinum Roofing inspects and documents commercial roof leaks across Grand Rapids, Jenison, Holland, Muskegon, Kalamazoo, and nearby West Michigan communities. Call or text (616) 256-0831 to schedule a free commercial roof assessment.
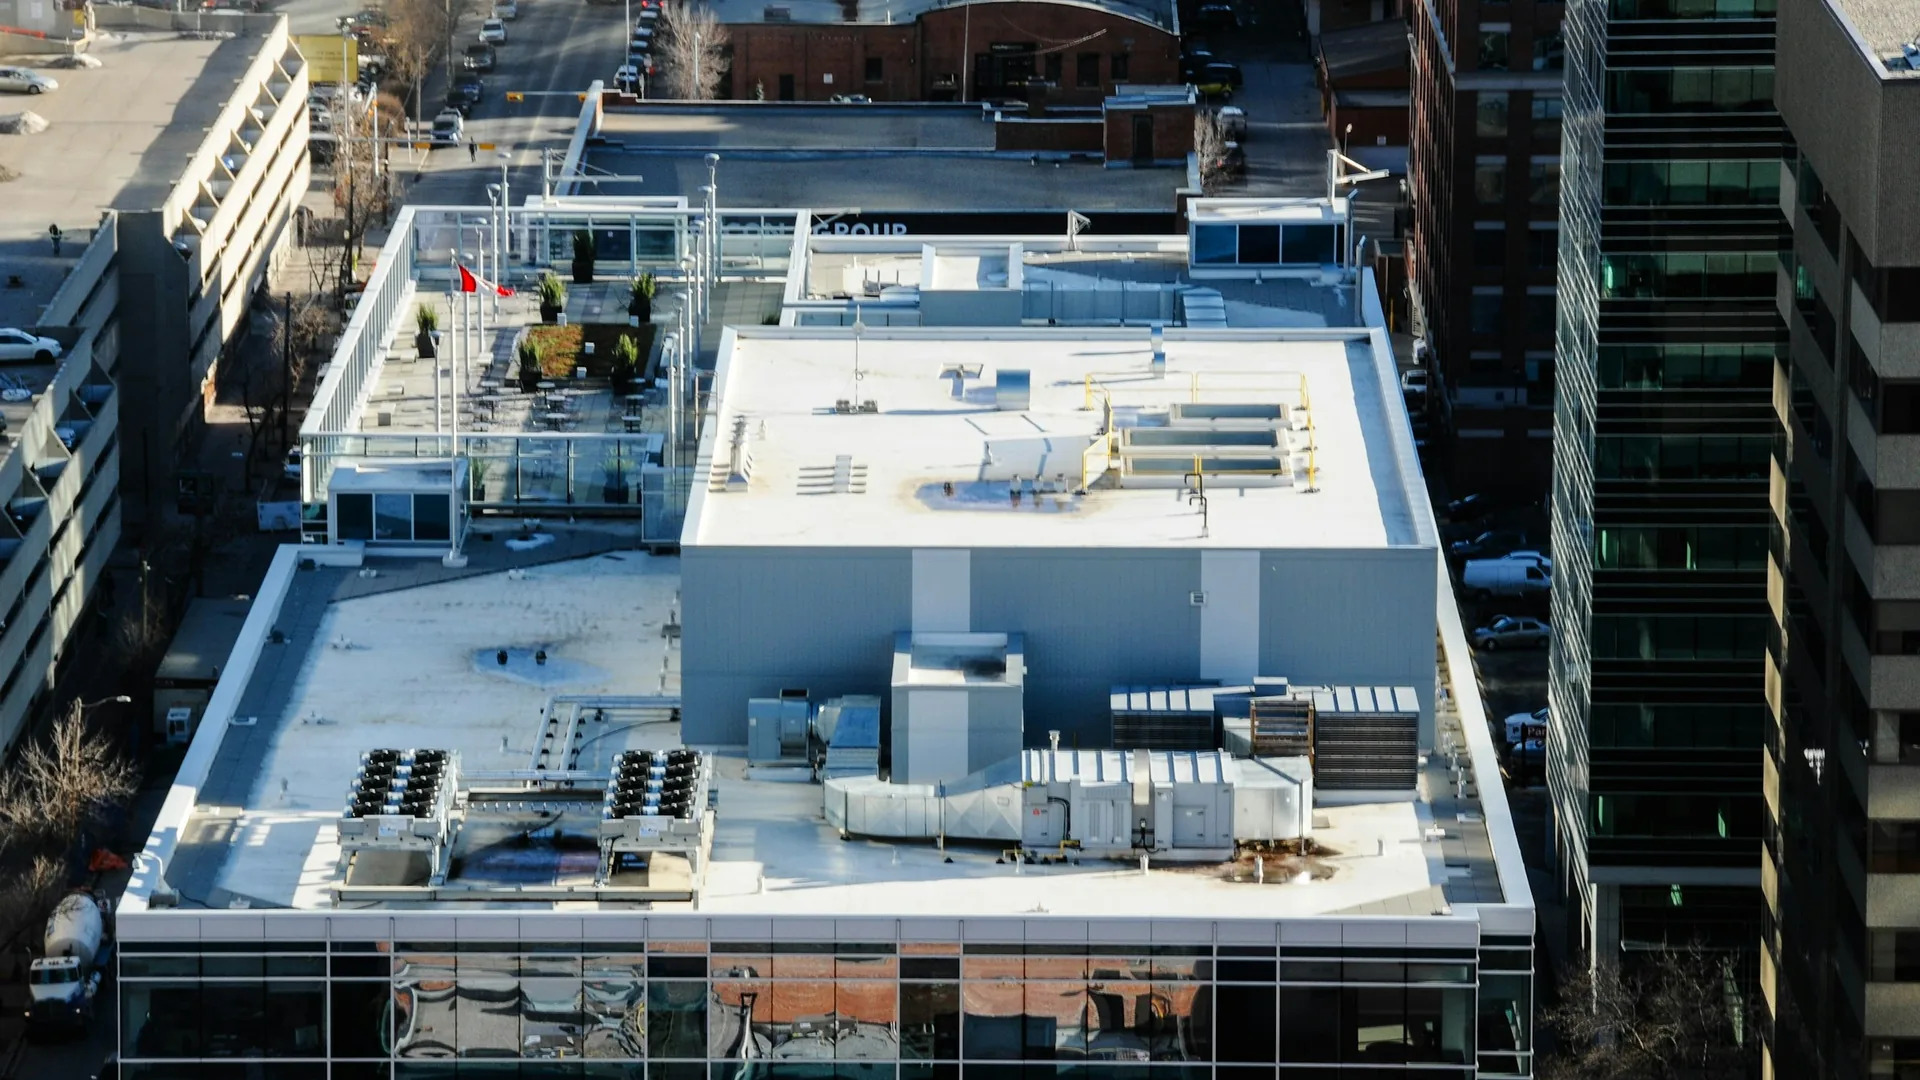
The stock photo shows a general urban commercial roof with multiple levels and rooftop equipment. It does not document a Platinum Roofing project, identify a leak location, or show a confirmed roof defect.